Kids love fun activities! Homeschool goes so much smoother when you have some activities planned to take a break from everyday subjects. I found the best way to do this is to find season appropriate crafts that will brighten the school area as décor. I love the fact that these fall trees turn out looking so natural and each one is very unique.
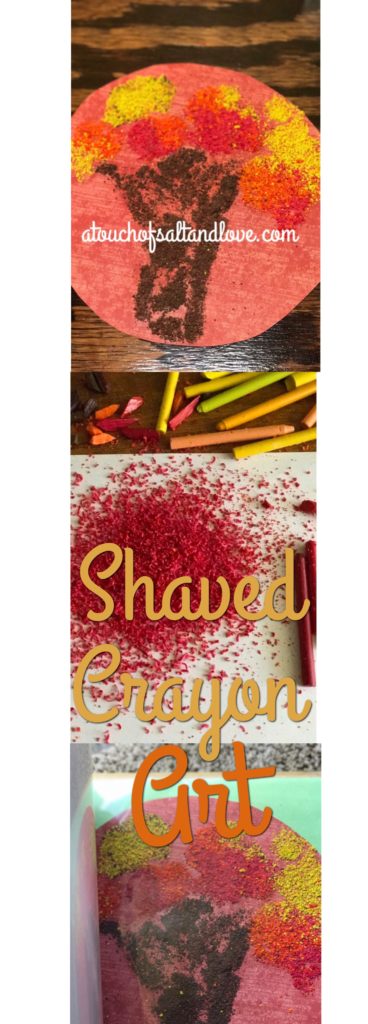
You can get the children involved the day before with getting your old and spare crayons shaved. I have an old cheese grater that works awesome for this! Styrofoam cups were used to store my shavings in for the next day.
You are going to need some muscle to shave the crayons! LOL!! So, get the kids involved with this and maybe even dad will help. 😉  Find the paper that you want to use. I chose some fancy large paper I had on hand, but use the paper you see fit. I shaped my paper into circles which I thought looked real nice with the autumn trees.
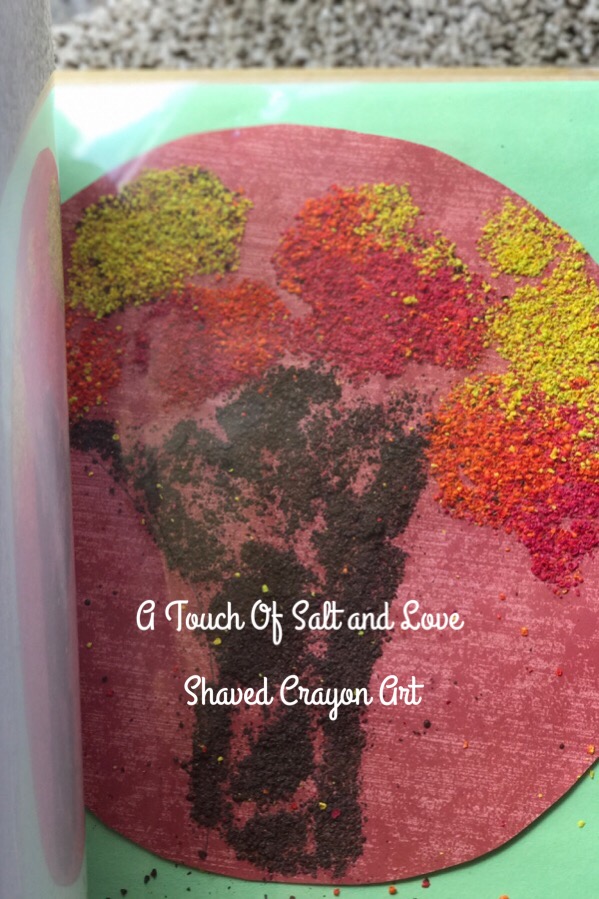
***I am going to share with you an awesome idea I use for displaying my messy crafts! Ready?! I love this because it works so good and all the mess from shaved crayons or glitter stays contained. I slip the craft into a picture album plastic insert and displayed the craft on the wall in the insert. When I am ready to take the craft down off the wall I slip it right into the picture album to keep as a keepsake for my child! Wow, this is a lifesaver to keep the house glitter free!! Glitter sticks to everything! This shaved crayon craft can get messy too, but NOT with the plastic photo album insert. 🙂
 Autumn Tree
I placed the tree in the photo album to show you how nice it works putting the crafts in the plastic insert. But, I want you to know that the craft is still on my wall after a month of making it. It looks perfect still! Exactly the same as in this picture which was taken the day the craft was made. The shaved crayon sticks real good and the insert helps to protect the art work.
What you will need:
- Old or extra crayons in fall colors
- Paper
- Cheese grater
- Glue sticks
- Container to shake off extra crayon shavings
- Picture album plastic insert
- Styrofoam cups or something to hold the shaved crayon
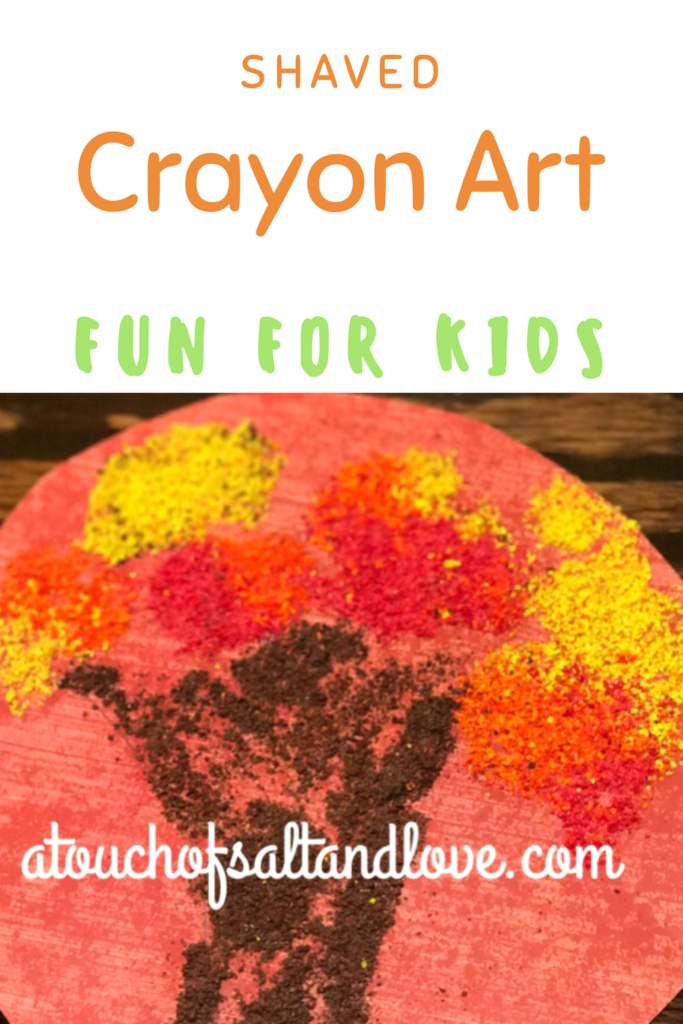
Simply wipe the glue on the paper in the shape you want your autumn tree to be and pour or sprinkle on the crayon. The tree looks excellent if you do not draw with a pencil and just simply rub on the glue. You get a more natural look that I love! Put a good amount of glue and press down on the crayon to get it to stick good to the paper. Shake off the excess crayon and pour back into the cups to reuse. It looks great to do the leaves in sections and with different colors.
My kids and I enjoyed this craft so much! It would look real cool to have a whole wall filled with autumn shaved crayon art trees from different students. Each one is so unique!


